Mission Summary
- Goal: Create a basic 3D mapping model and 'stitched image' orthomosaic.
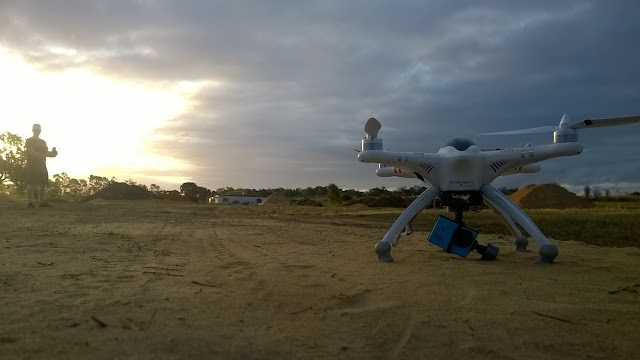
- Tech: QR X350 Pro quadcopter drone, SJ 4000 actioncam, Mission Planner, Recap 360, Photoscan
- Conditions: Morning, sunny wilth nil wind
- Outcome: Whilst I could create a 3D model and an orthomosaic based on the images taken from the drone, the results where only of low/medium quality.
The first project I thought I'd test the new gear on was a small construction site right next to the large field I usually fly in. I felt it was an excellent first project as the area is clear of objects, I'm familiar with the flying conditions, it's mainly flat with only a couple of topographic features but it still had a couple of small structures, mounds of dirt and equipment that I could test the accuracy of the model with.
As a basic 'ground truthing' exercise you can compare the above image to the model below. You'll see that there is some slightly higher ground to the right, a few trees, plus a couple mounds of dirt that are roughly the height of the construction office. There's also a few perimeter fences around the site office and equipment.
Flight planning was done using Mission Planner, I just love how comprehensive yet intuitive this program is. It has tools to simply draw a polygon around the area you wish to survey, then based on the height you plan to fly and the type of camera you are using it plans the grid pattern that the drone will fly, this gives the best result for overlapping images. It also displays a summary screen showing the size of the area, the expected flight time, number of photos to be taken and much more.
Here is a screen capture of my laptop showing the model generated from the photos. It shows each 'camera location' confirming the overlap that Mission Planner predicted. It also gives the drone pilot other summary information such as the area surveyed, the number of photos to be taken and flight time, very handy for deciding if it will be within safety limits.
The results for the model created in Agisoft Photoscan are not bad. You can see that the terrain has been accurately re-created, for me, the main let down with this model is the quality of the site office and equipment. That said, my laptop can only handle creating a 'medium' quality model so perhaps they would look better if produced on a higher setting.
Compare the model above, that was produced using Agisoft Photoscan to the below model produced in Autodesk Recap 360. The Autodesk is easier to use, you simply upload your images to the Recap 360 account and all the processing is done 'in the cloud' however there are very little options and settings that can be changed.
Below is a 'stitched' photomosaic produced in Microsoft ICE, the program takes all the photos and stitches them together to create a large image of the area. The difference with this to the 3D models created is that usually the resolution and detail when zoomed in is much greater. Check it out below by clicking on the image and then zoom in.
This has been another 'drone adventure' in aerial surveying, inspection and mapping by The Aero Scout.


